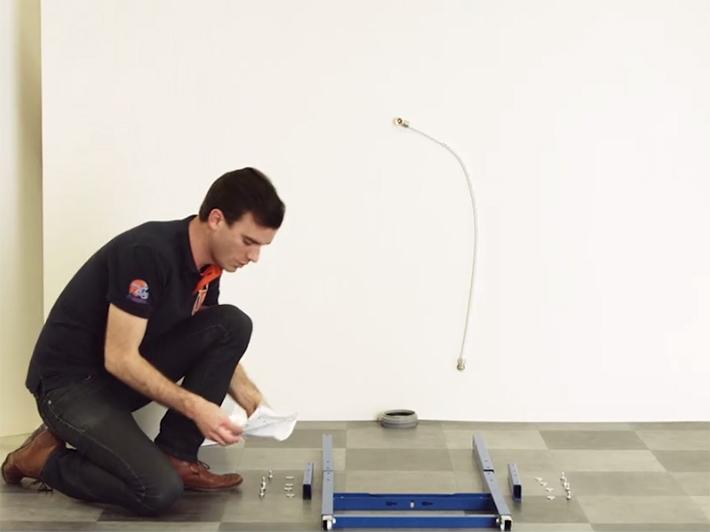
Setting up the frame
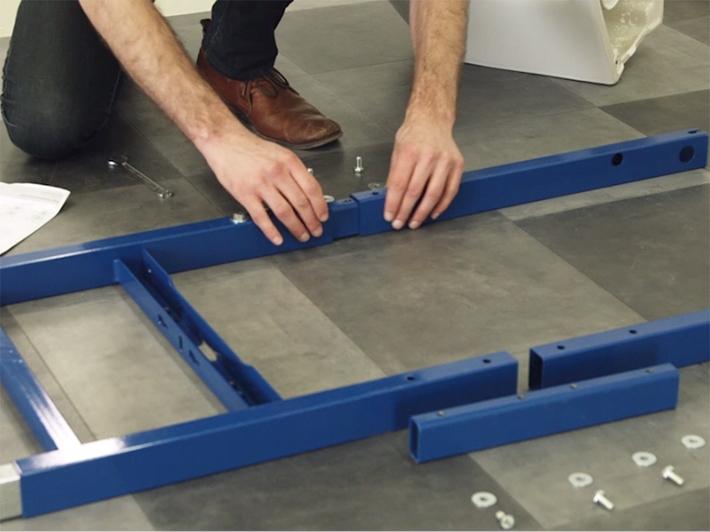
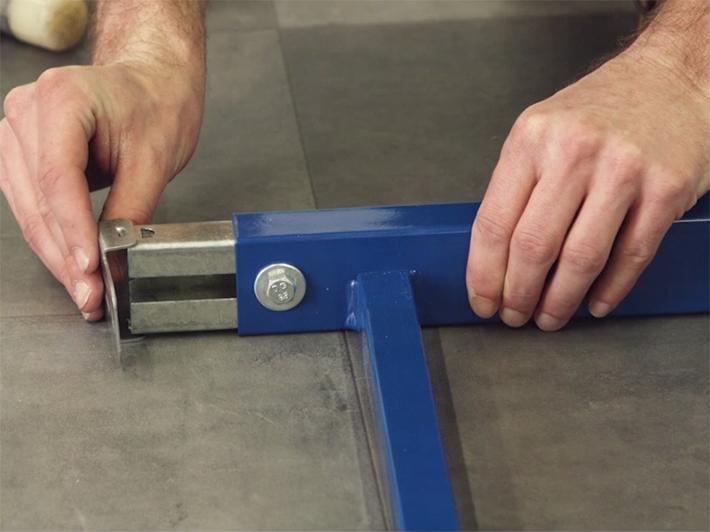
1 - Assemble the vertical upright bars and horizontal support bars on to the frame and tighten them together.
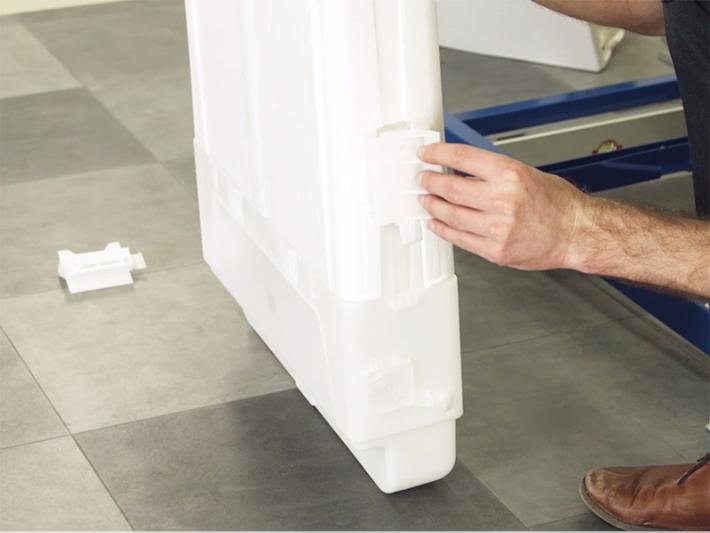
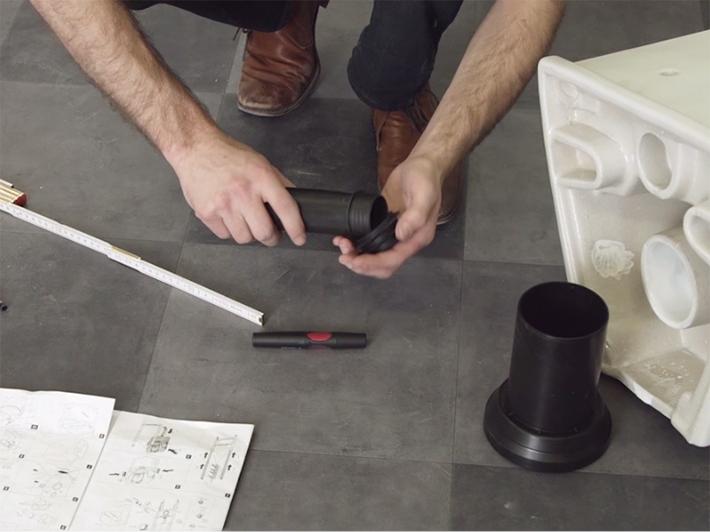
2 - Slide the 2 fixing mounts onto the sides of the cistern making sure they are fitted securely.
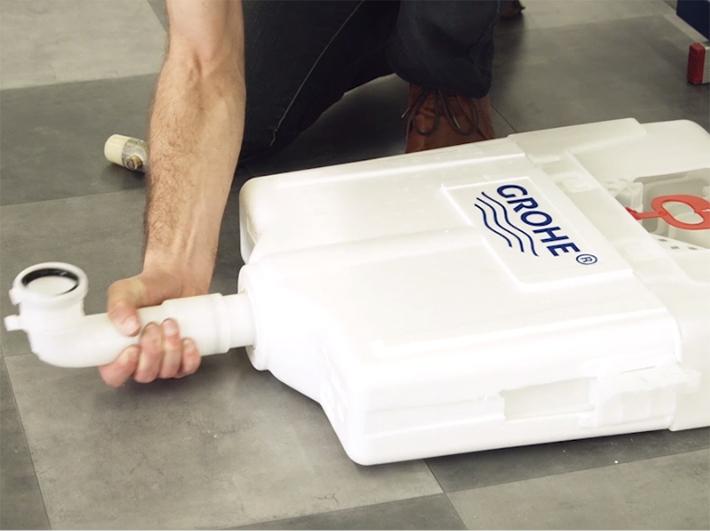
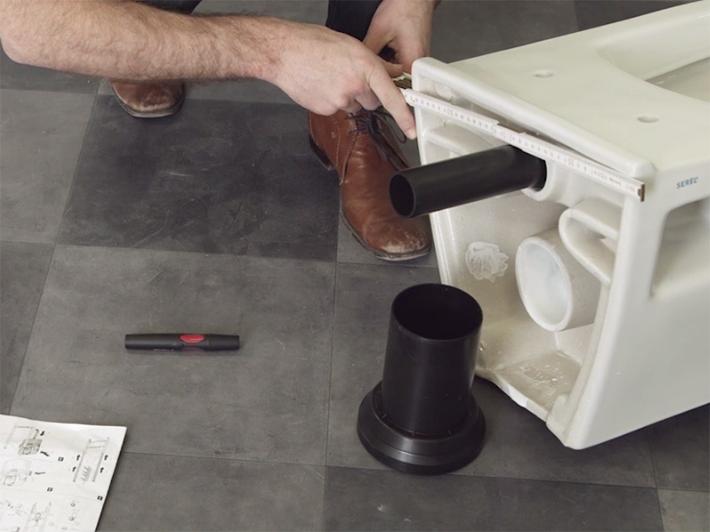
3 - Place the vertical flush pipe on to the underside of the cistern
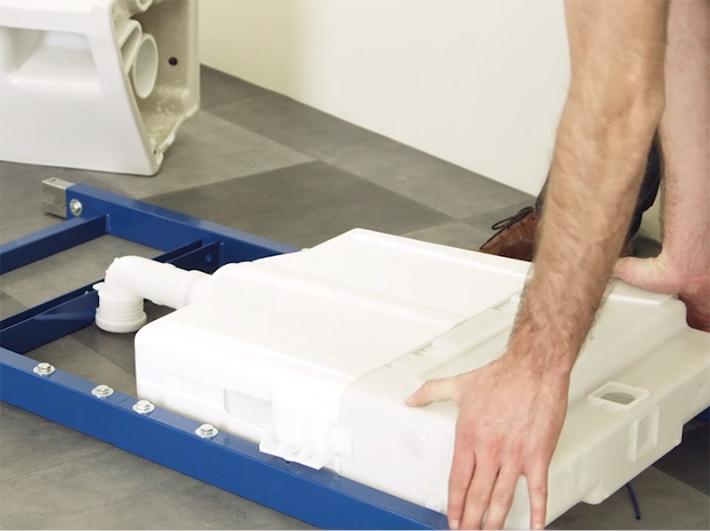
4 - Secure the cistern in to the frame. First place the elbow of the flush pipe on the frame, and then press down on the cistern to clip it into place.

5 - Use a 10 mm ratchet wrench to attach the fixing mounts on the frame.
6 - Insert and clip the feet onto the lower part of the frame.
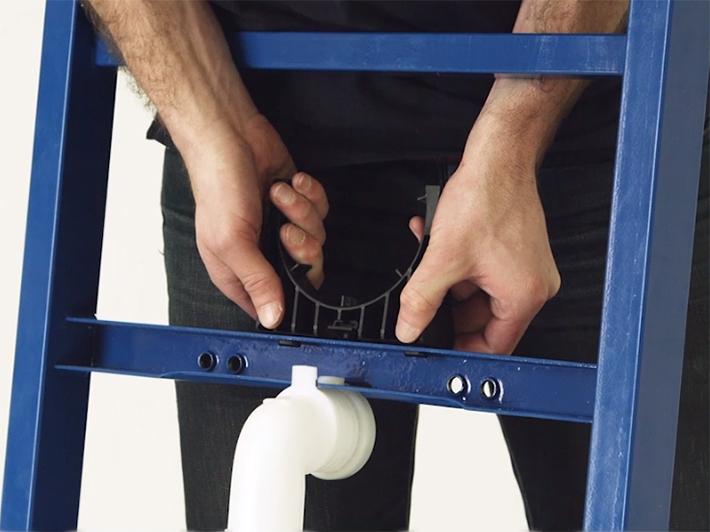
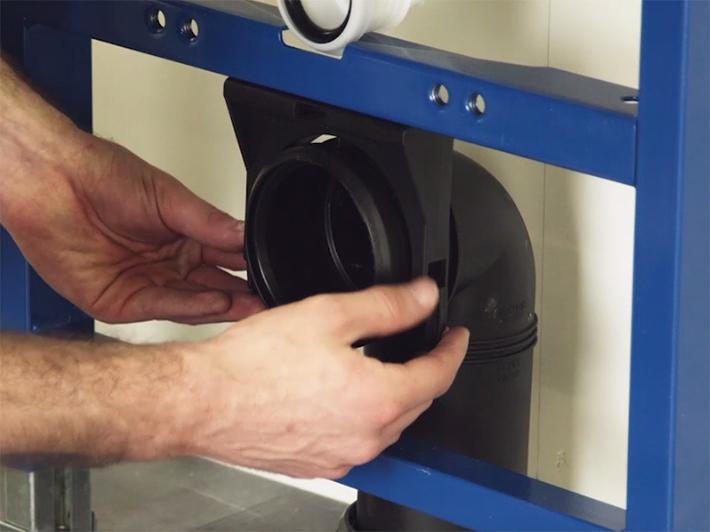
7 - Install the clamp for the 90 degree waste pipe elbow onto the frame.
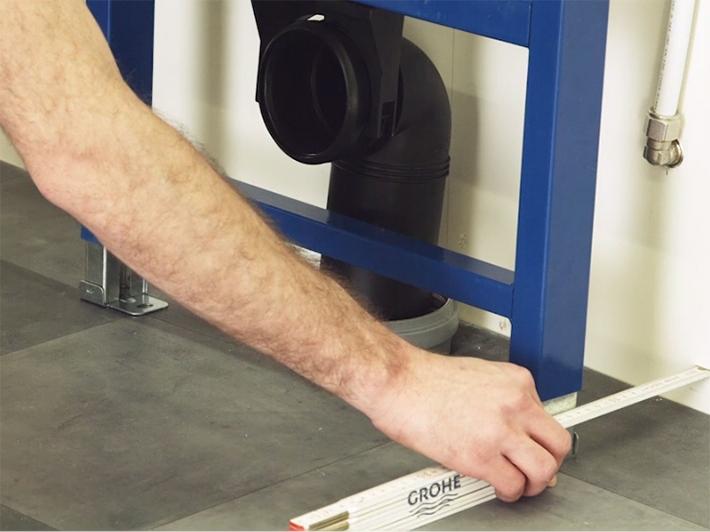
Positioning the unit and marking
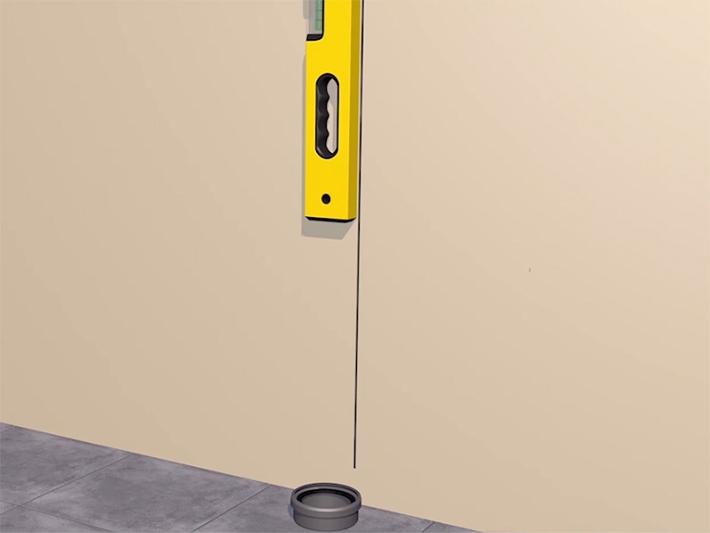
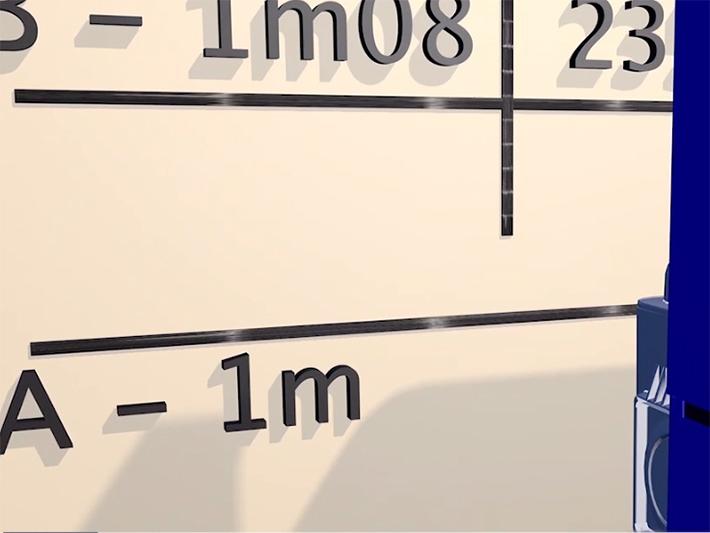
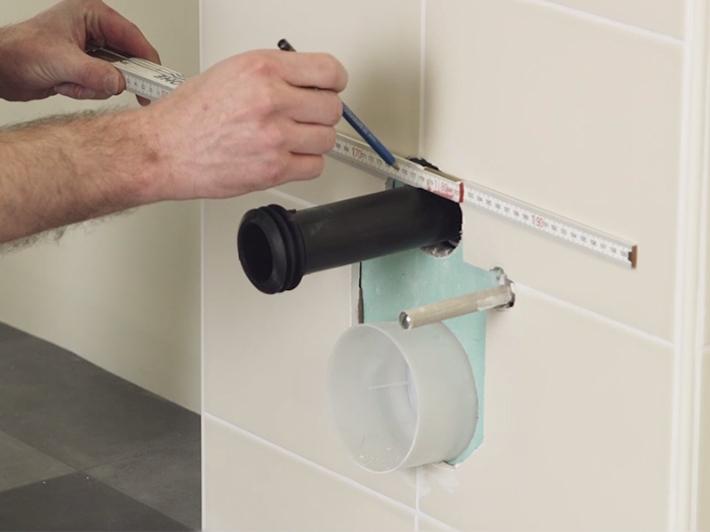
1 - Using your Spirit level, draw a vertical line that crosses the center of your waste pipe. Measuring from the floor, for a standard bowl placement at 400 mm from the floor, draw a mark A at 1 m and a mark B at 1.08 m. If necessary, adjust your measurements to match your own desired bowl placement.
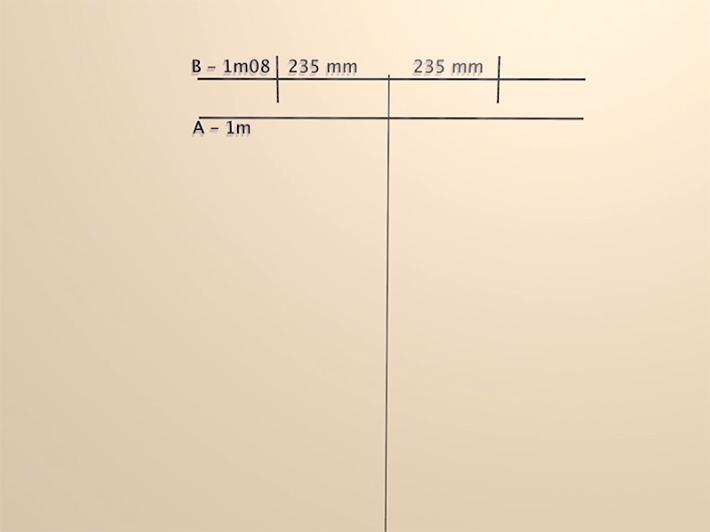
2 - On your mark B, draw the holes for the wall brackets 235 mm to the left and to the right of the center of your evacuation.
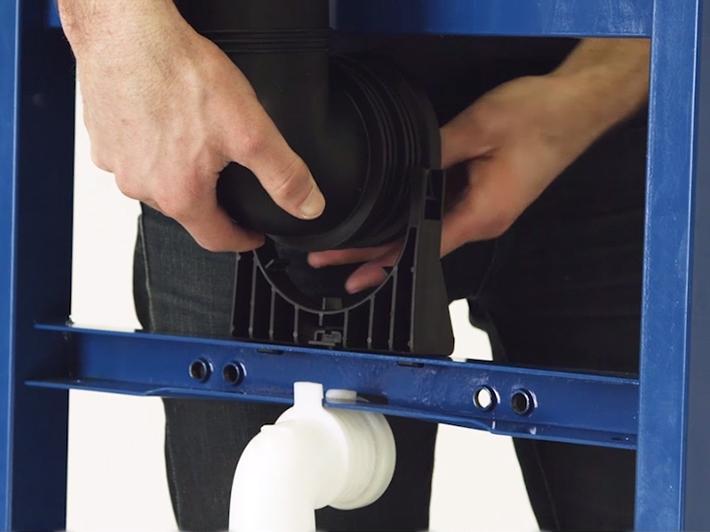
3 - Complete the assembly by fitting the 90 degree waste pipe elbow in to the clamp.
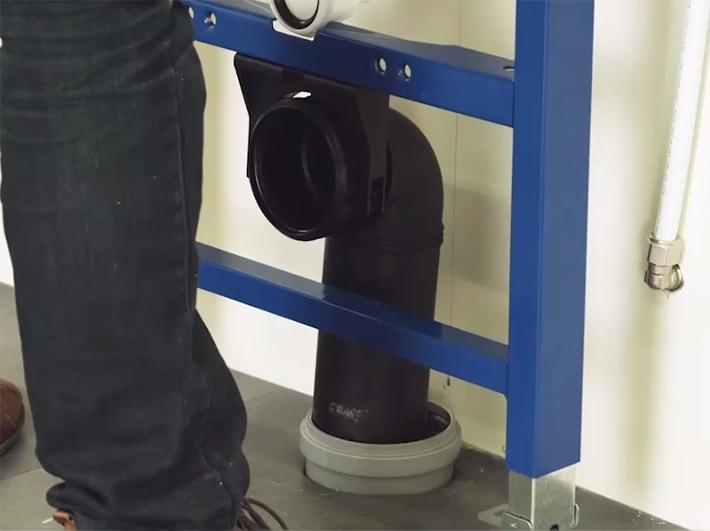
4 - Put the unit into place and check the position with respect to the water supply and waste pipe. Maneuver the 90 degree waste pipe elbow according to your installation (horizontally or vertically). If necessary, adapt the connection using PVC piping.
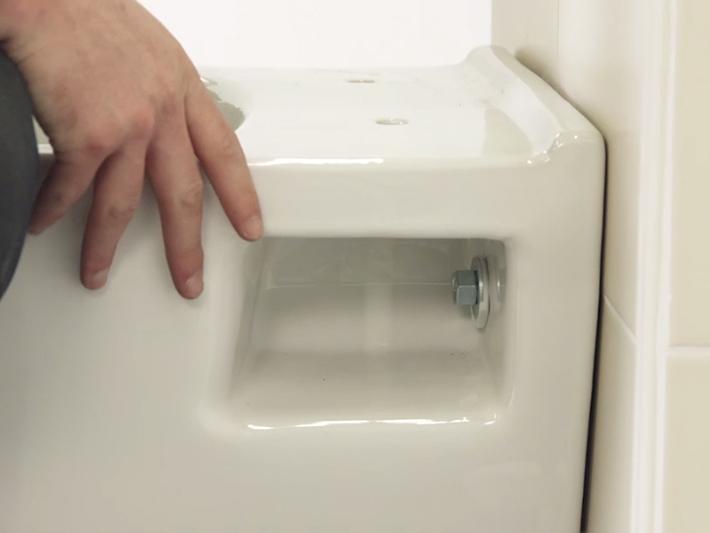
5 - Make sure that the unit is at least 230 mm from the wall, then mark the locations of the holes for the unit's foot brackets.
Adjusting and attaching the unit
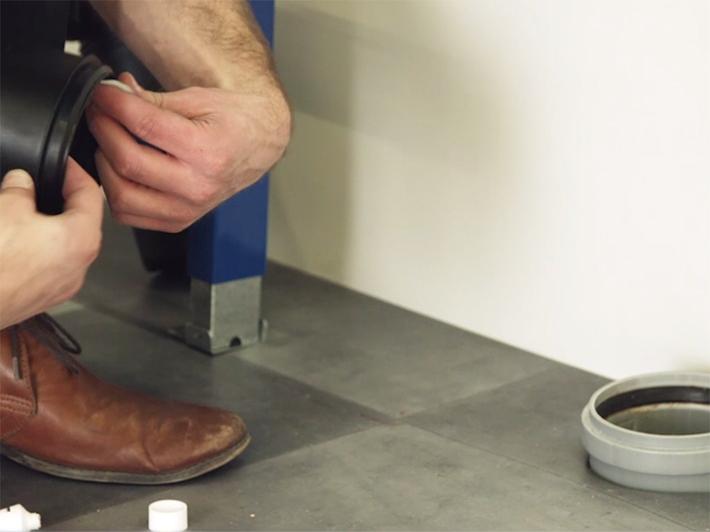
1 - Grease the sealof the 110 mm waste apdato so that the 90 degree waste pipe elbow fits easily. If you are gluing the PVC connection, use a straight glue-in 90/100 sleeve. For standard bowl placement, check that the height is 230 mm. Check to make sure the unit aligns with your marks. If necessary, adjust your measurements for the desired bowl height.

2 - Drill holes into the wall using a 10 mm drill bit. Insert the rawl plugs.
3 - Drill holes into the floor using a 12 mm drill bit. Insert the rawl plugs
4 - Adjust the frame height so that it lines up with your mark A.
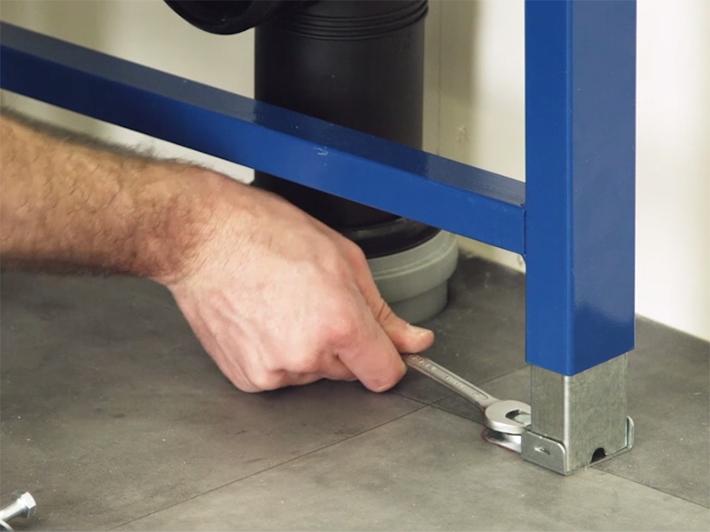
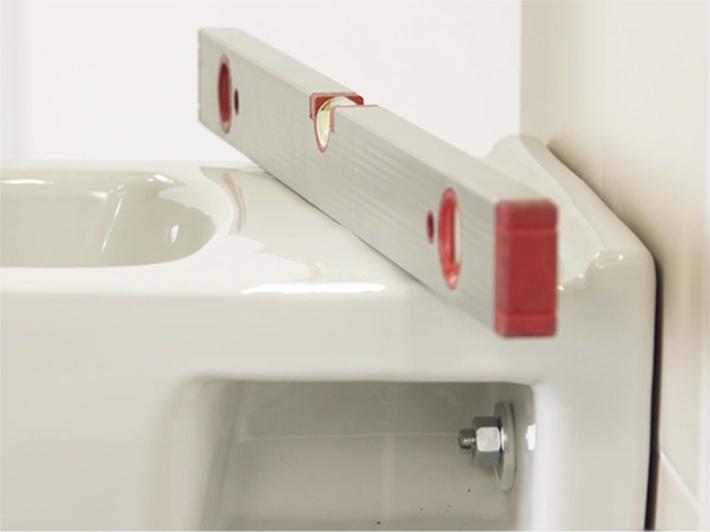
5 - Secure the feet using a 13 mm wrench. Make sure the frame is level horizontally.

6 - Adjust the level by loosening the adjustment bolt on one of the feet using a 13 mm wrench, then tighten the screw. Make sure the screw is firmly tightened on the other foot.
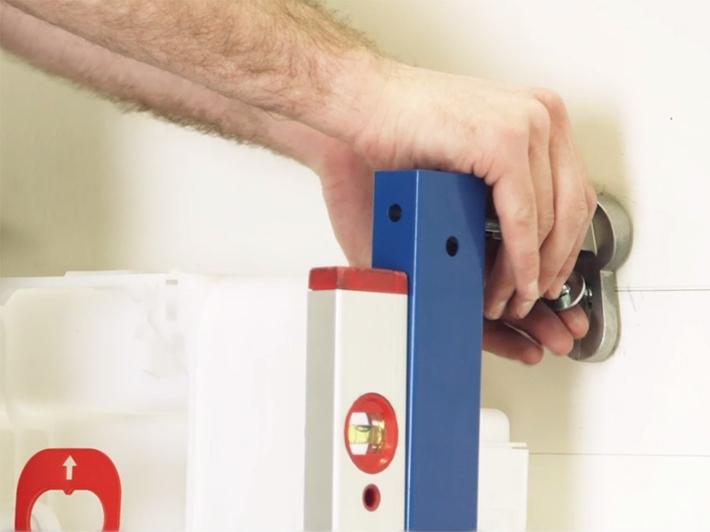
7 - Place the fixing brackets at the top of the frame.

8 - On the threaded rod, place 1 nut, 2 washers and 1 nut.
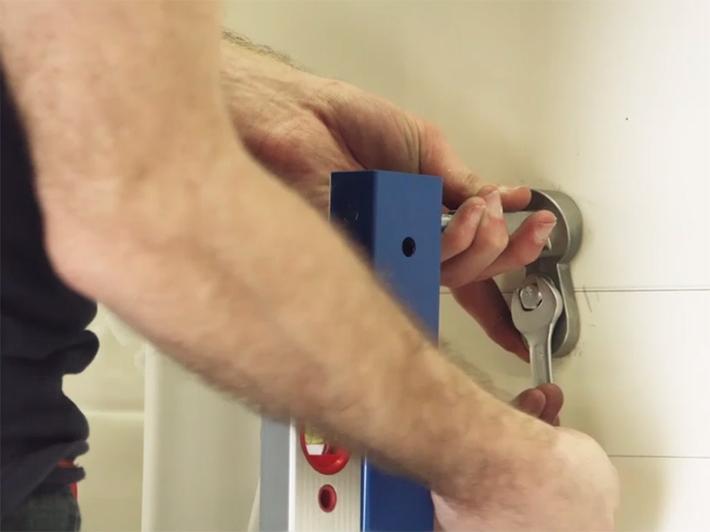
9 - Place the fixation brackets on the threaded rod, with the clips open. Secure the brackets to the wall using a 13 mm open-end wrench.
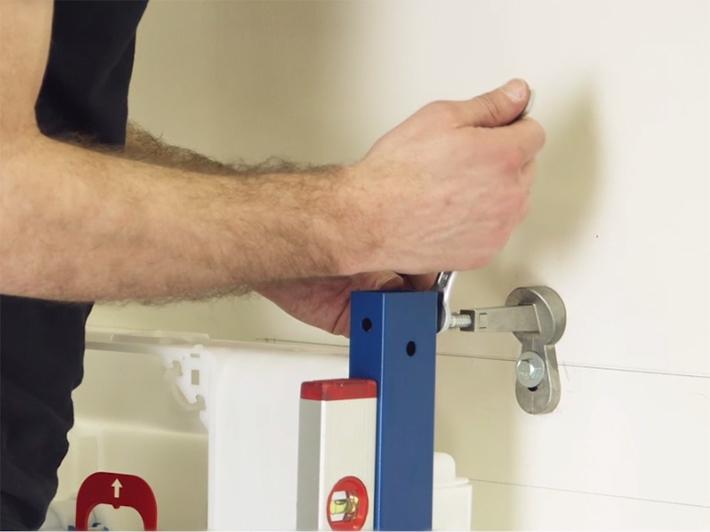
10 - Adjust vertical alignment using the screws and spirit level. Use a 13 mm open-end wrench to tighten the screws. Close the metal clips to lock the screws. Finish by placing the plastic clips over the rod.
11 - Place the clip on the waste pipe clamp fitted earlier.
Installing the flush mechanism
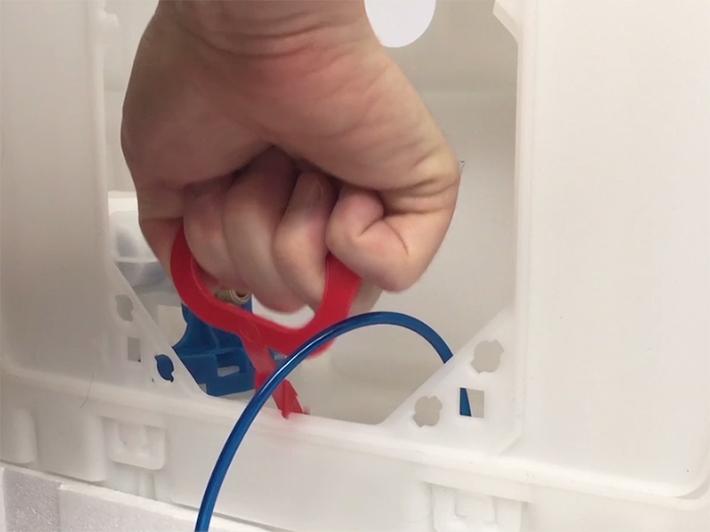
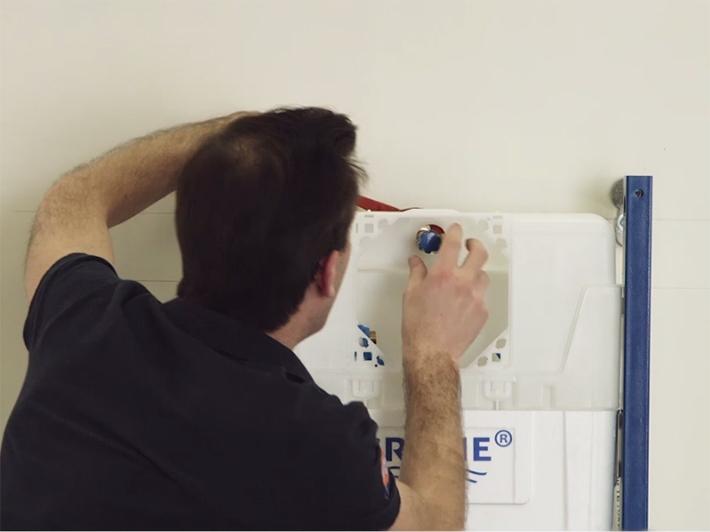
1 - Pull the red handle to remove the transport bracket and discard it.
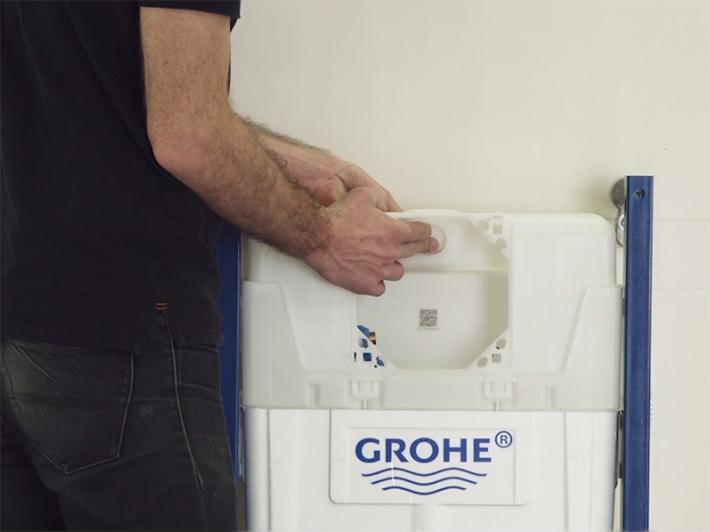
2 - Remove the cover to access your cold water connection
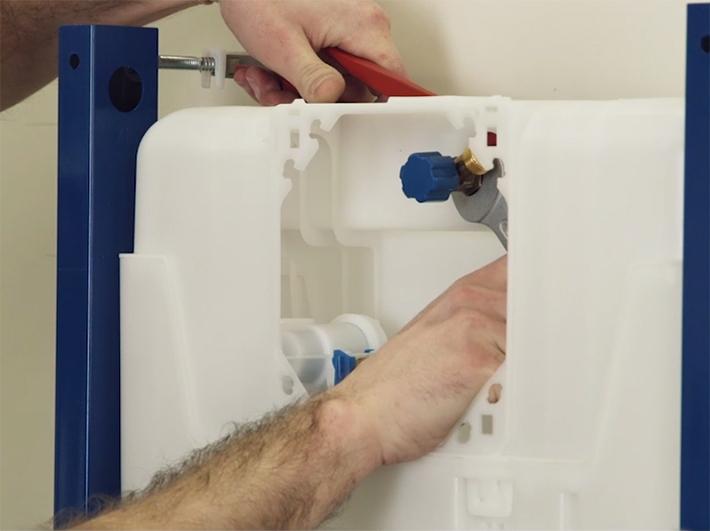
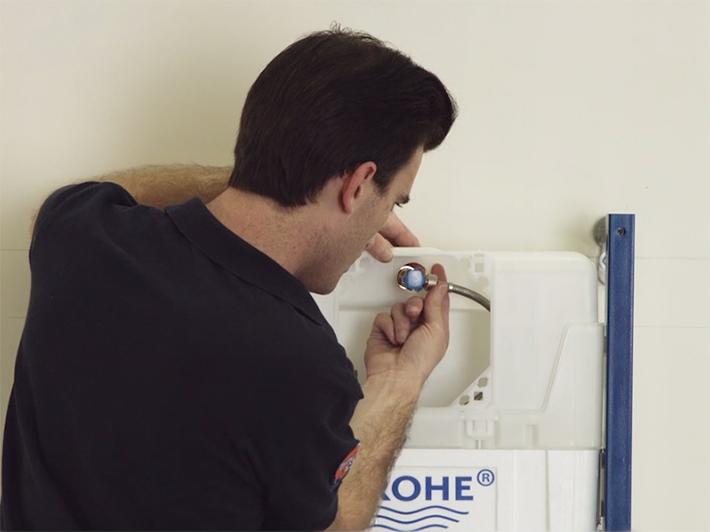
3 - Attach the exterior part of the stop valve to your cold water connection using a 22 mm open-end wrench and a pipe wrench. This assembly must be made without using a seal.
4 - Point the stop valve outflow to the right.
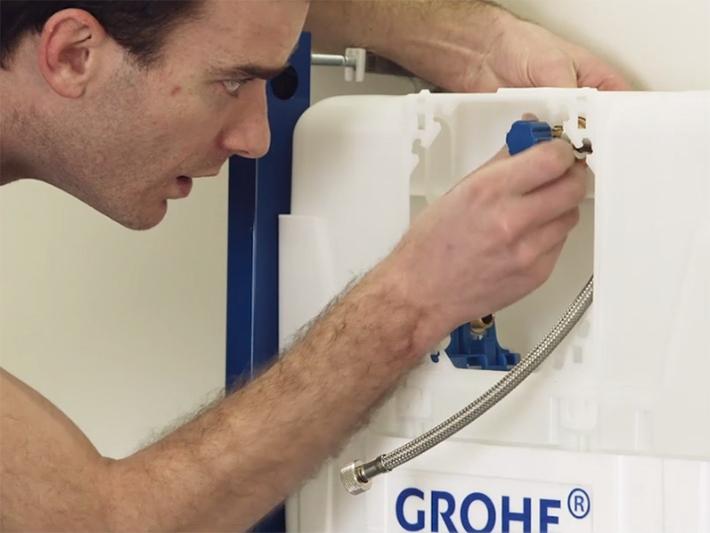
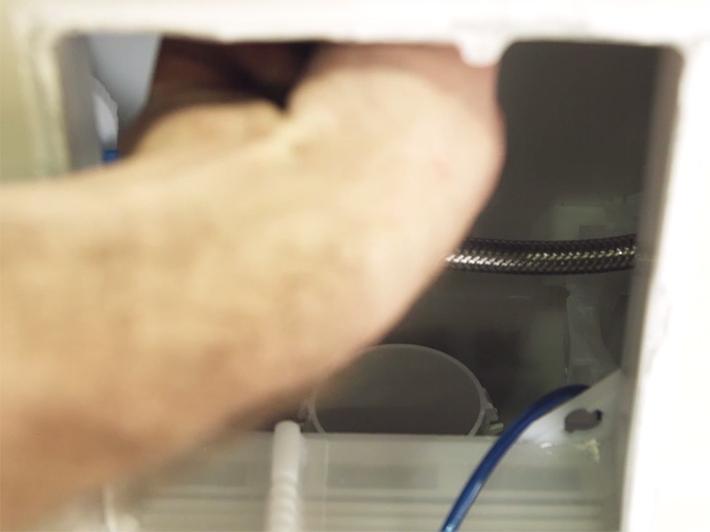
5 - Connect the internal flexible water inlet hose to the stop valve.
6 - Make sure the isolation valve is closed and open the main water supply. Make sure the isolation valve connection is water-tight.
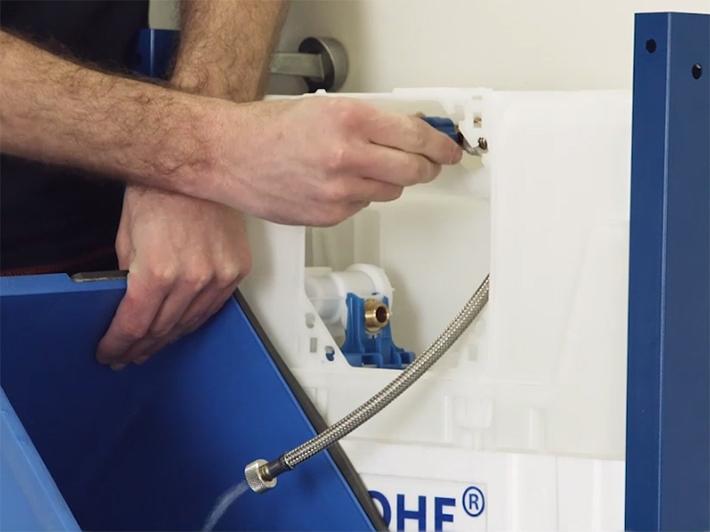
7 - Place the other end of the hose in a bucket to catch the water, and then slightly open the faucet to check for water. Close the isolation valve. This operation flushes any debris out of the water connection to the cistern,
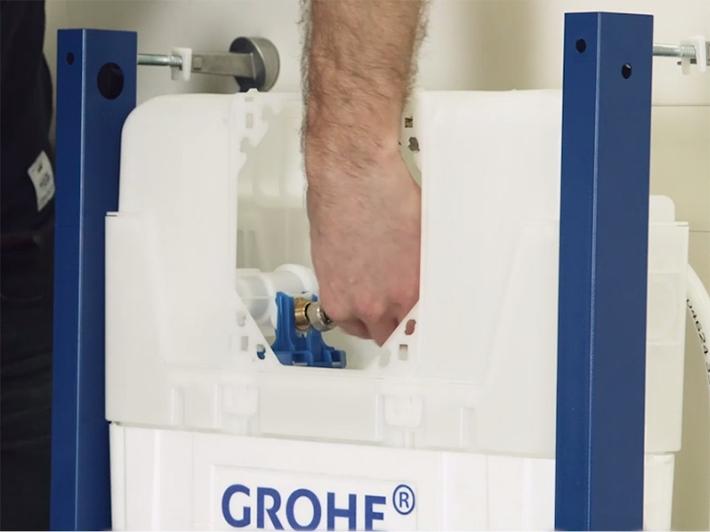
8 - Connect the end of the flexible water inlet hose to the flush system.
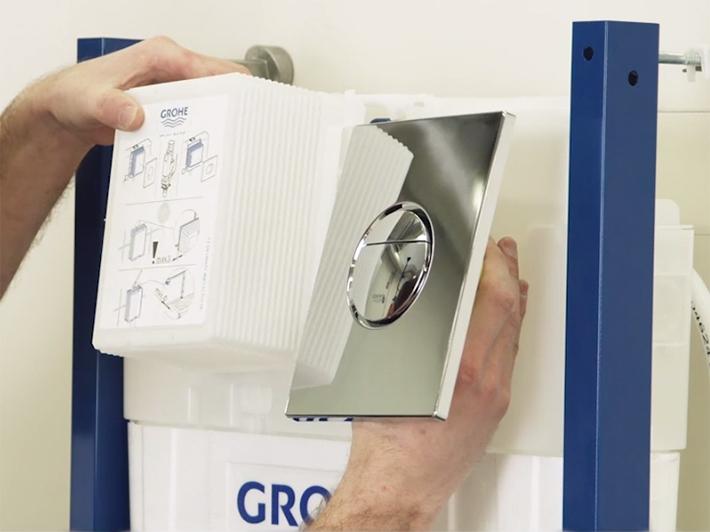
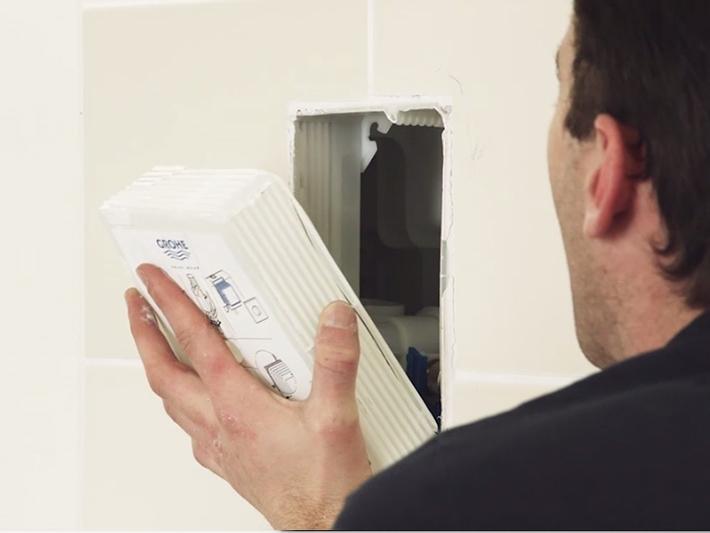
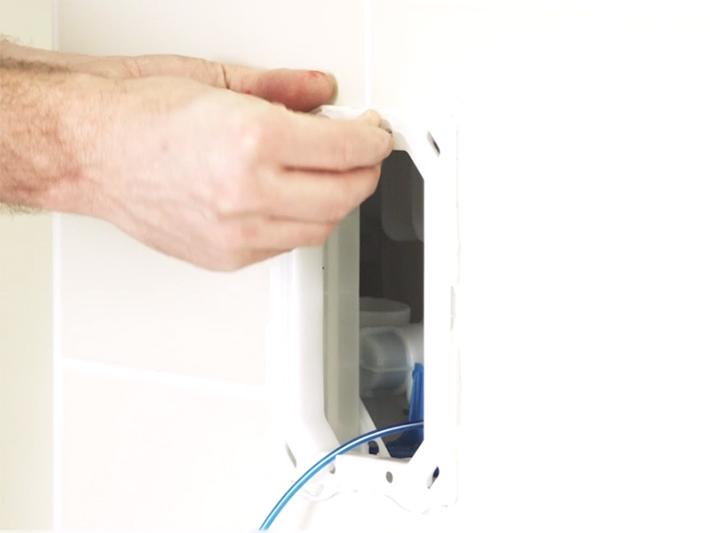
9 - Place the inspection shaft according to the orientation of your flush plate.

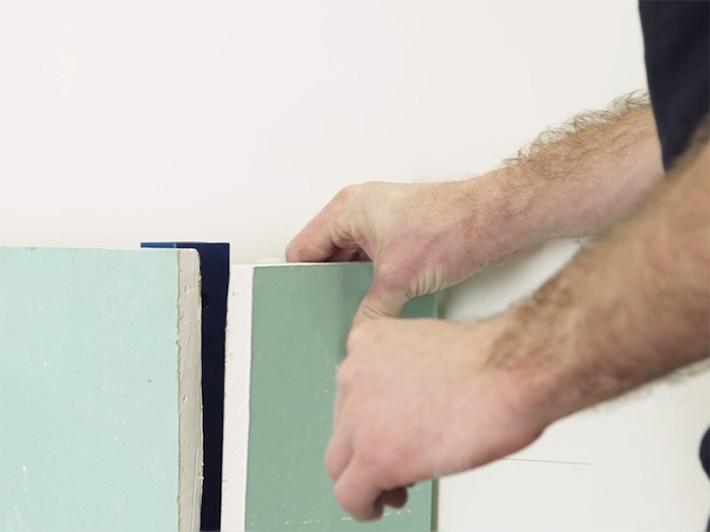
Installing the bowl
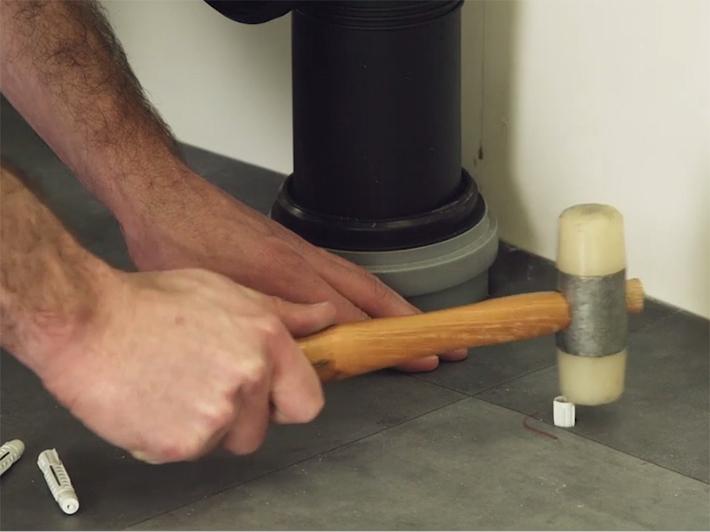
1 - Push the flush pipe and its seal together until they reach a stop.
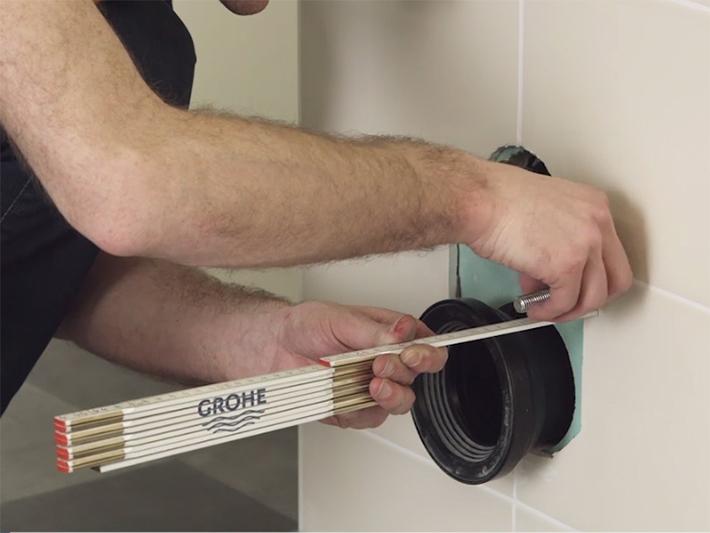
2 - Place the pipes on the bowl and mark the pipes where they extend past the edges of the bowl.
3 - Then place the pipes completely onto the sanitary unit and mark them where they emerge from the unit.
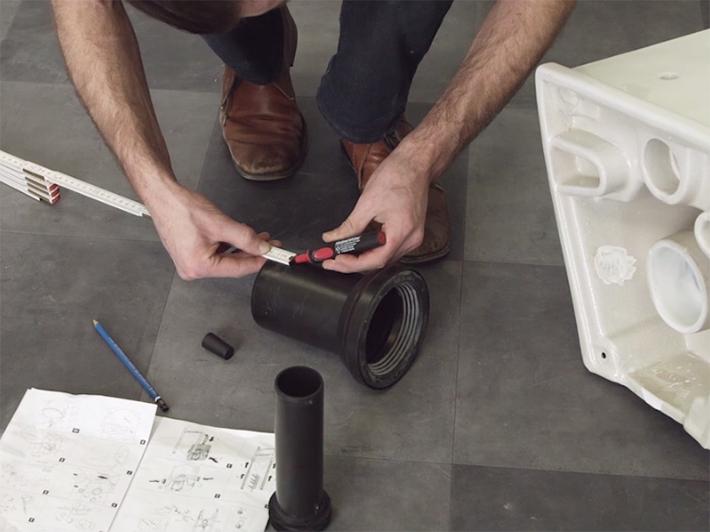
4 - Measure the space between the marks on the pipes. Carry this measurement over to the end of the pipes, adding 5 mm, and then cut off the end.
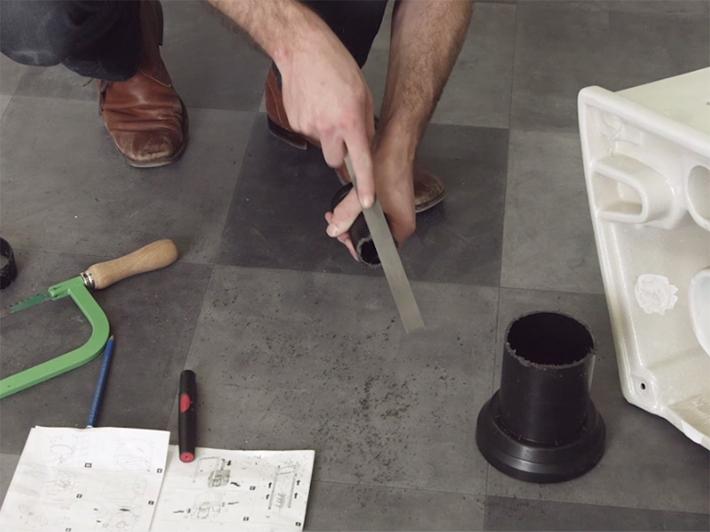
5 - Use the file to smooth the pipe ends.
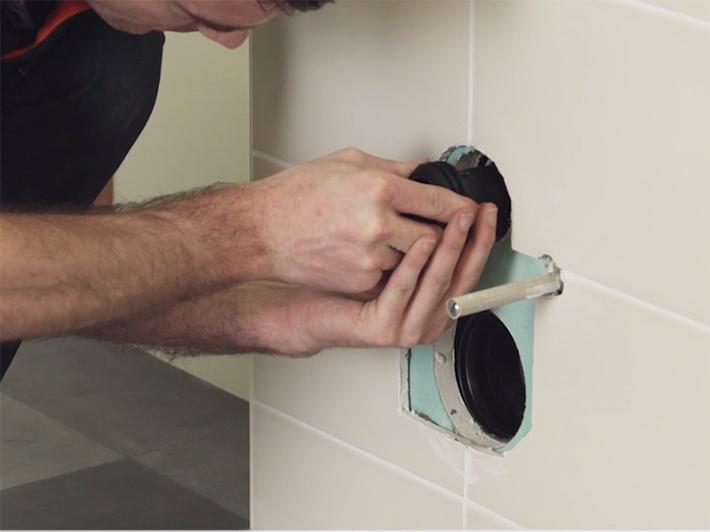
6 - Insert the pipes completely into the unit.
7 - Screw the threaded rods into the interior of the frame, allowing the rods to extend out by 6 cm.

8 - Apply soapy water to the connectors. Place the ceramic bowl facing the flush pipe, waste pipe and threaded rods, then push firmly until it touches the frame.
9 - Immediately place the white plastic piece, washer and nut onto the threaded rods. Use an 18 mm open-end wrench to tighten, without forcing.
10 - Make sure the bowl is level. If necessary, adjust it by rotating the white plastic pieces. Install the plastic covers.
Installing the actuator panel
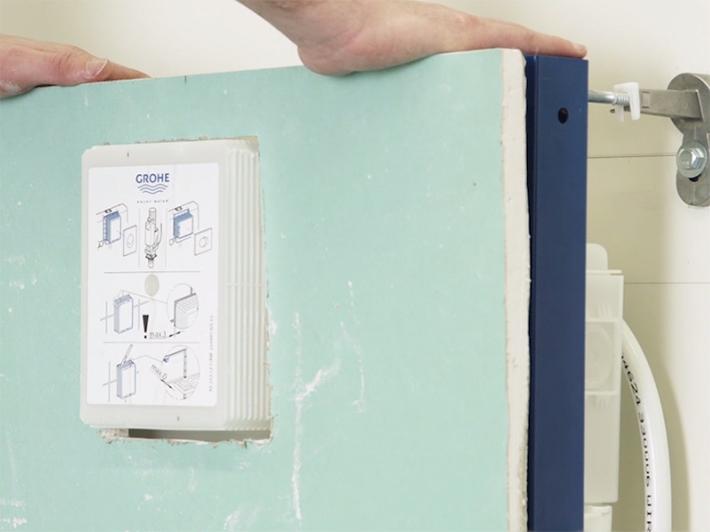
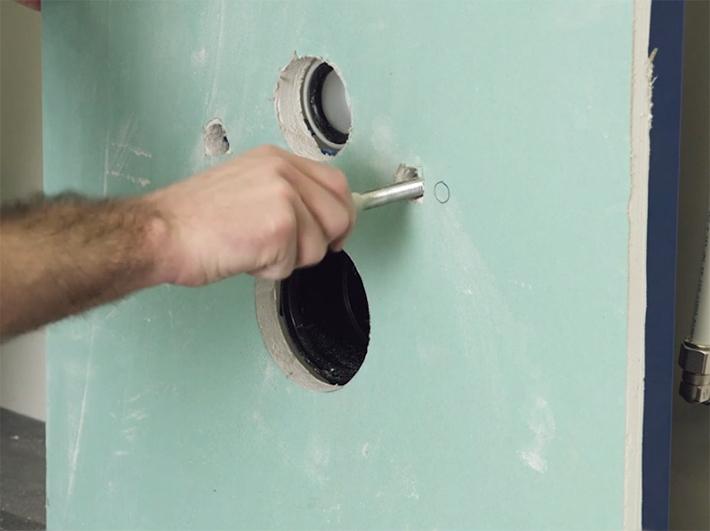
1 - Carefully, use a cutter to cut the exterior plastic part flush with the cover.
2 - Turn on the water supply.
3 - Install the flush plate mounting bracket with the plastic springs facing downwards, and then tighten the 2 screws.
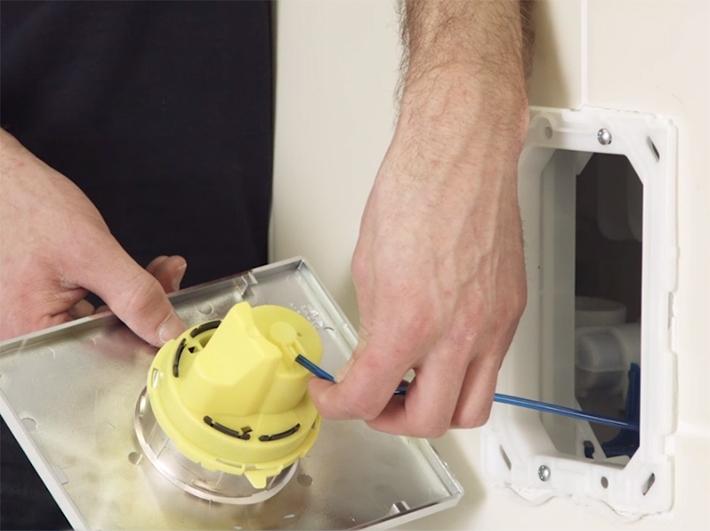
4 - On the back of the actuator panel, attach the air button by rotating it completely, then connect the blue tube to the mechanism.
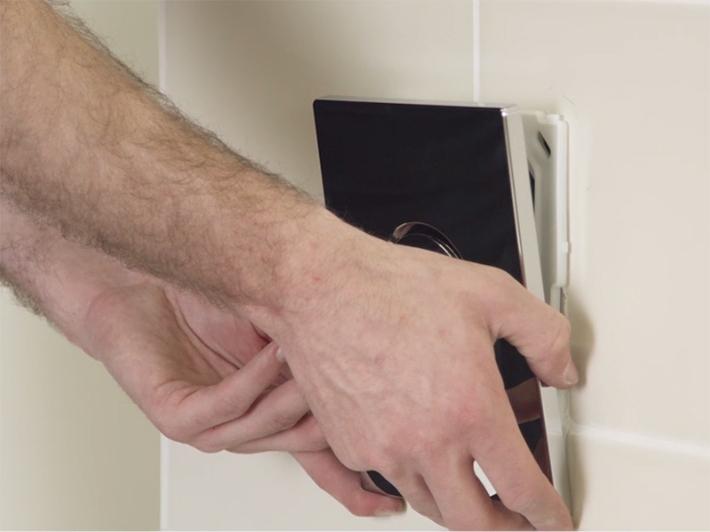
5 - Place the bottom of the panel first, then push upwards while pressing towards the unit.
Filling with water and finishing
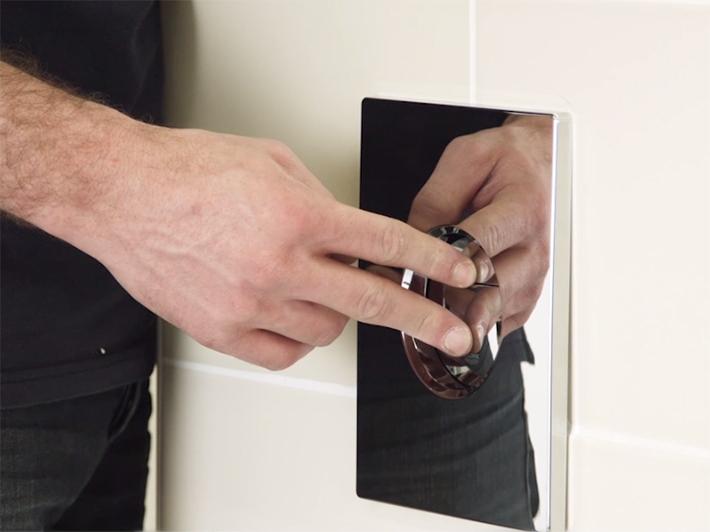
1 - Operate the flush button to ensure that it is working properly.
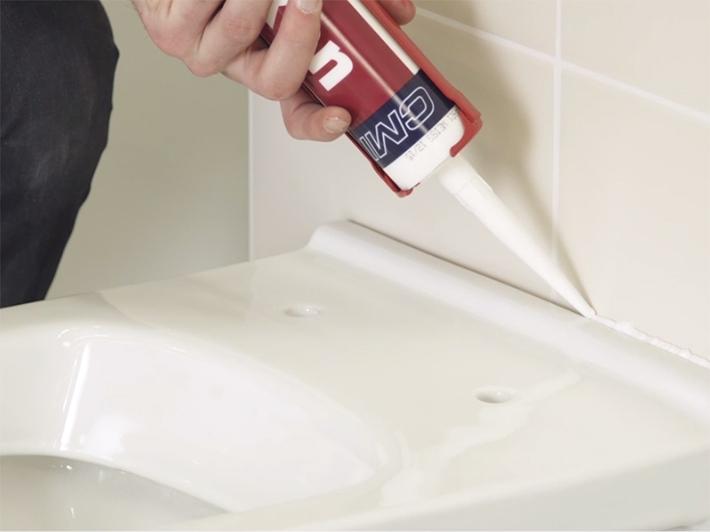
2 - Apply a silicon seal around the back of the bowl.

3 - Insert the plastic anchors into the bowl and tighten the screws to secure.
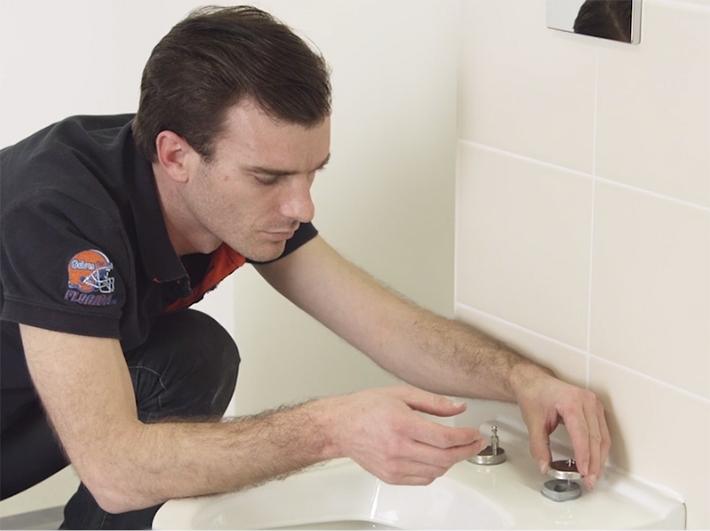
4 - Place the chrome covers over the plastic pieces.
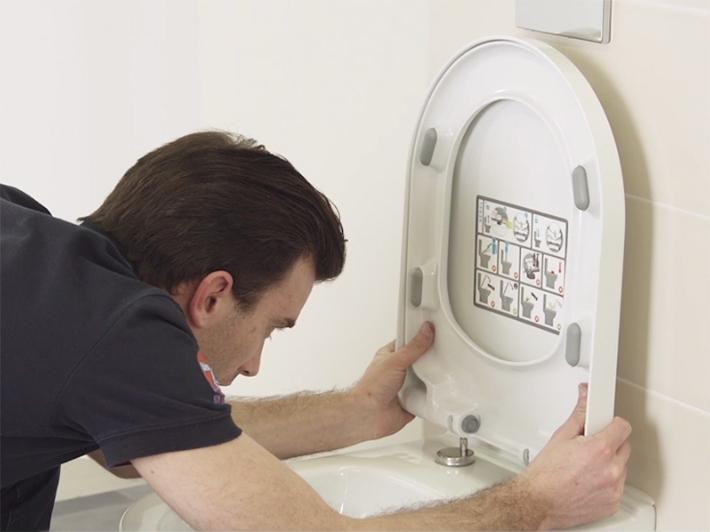
5 - Place the hinge holes of the toilet seat onto the rods. Click the seat into place.